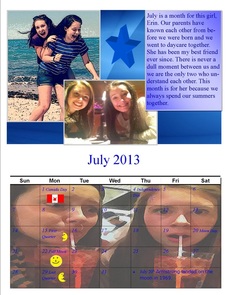
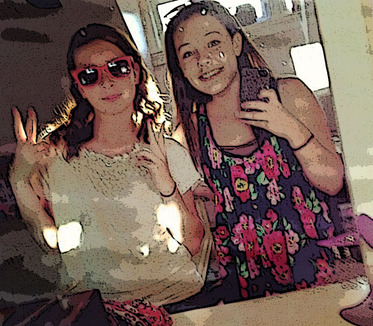
Calender, Month of July
|
|

|
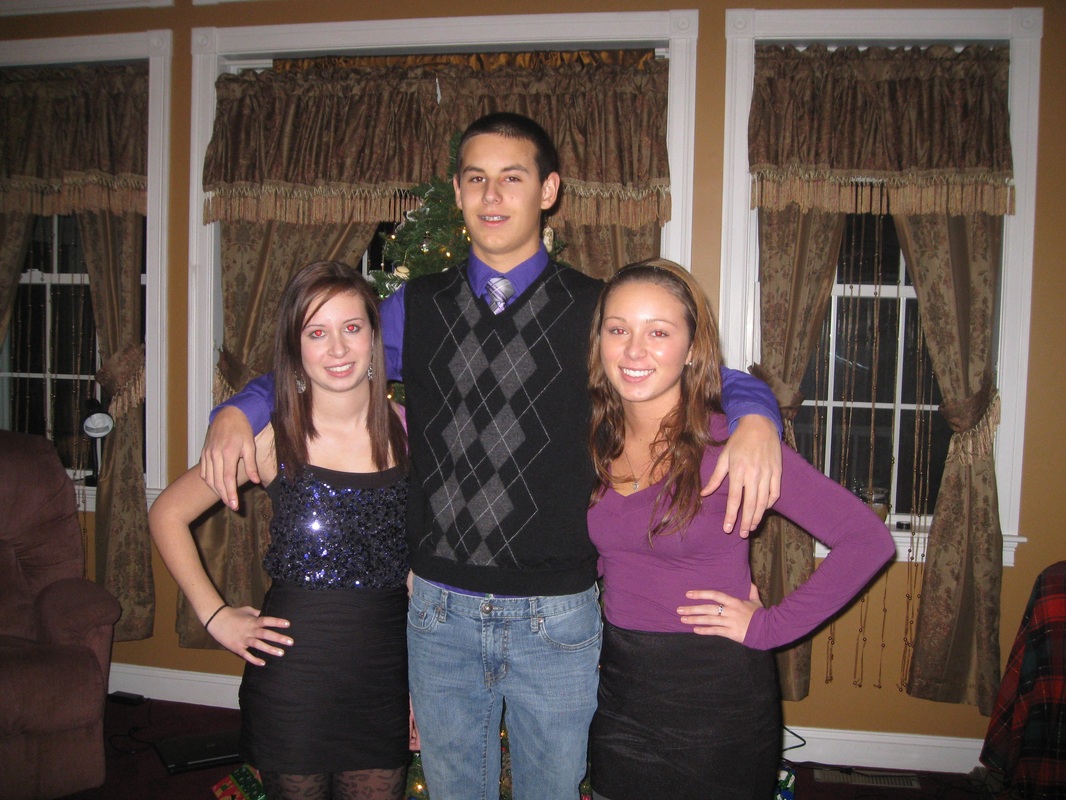
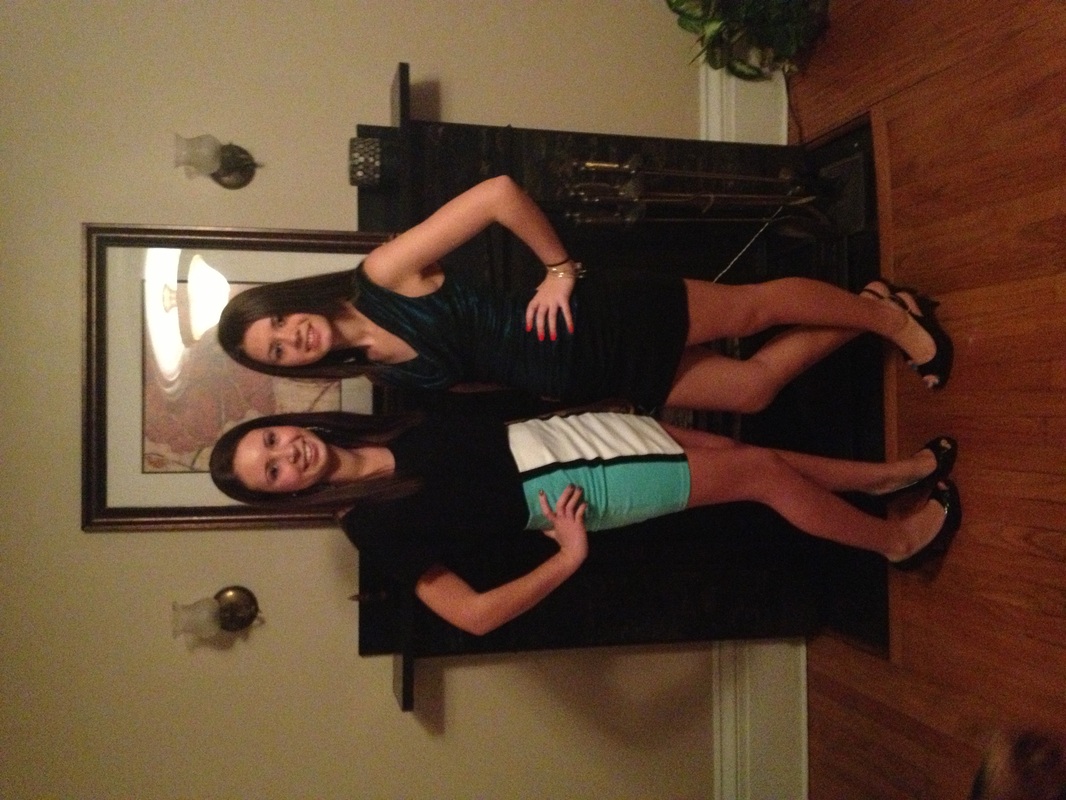
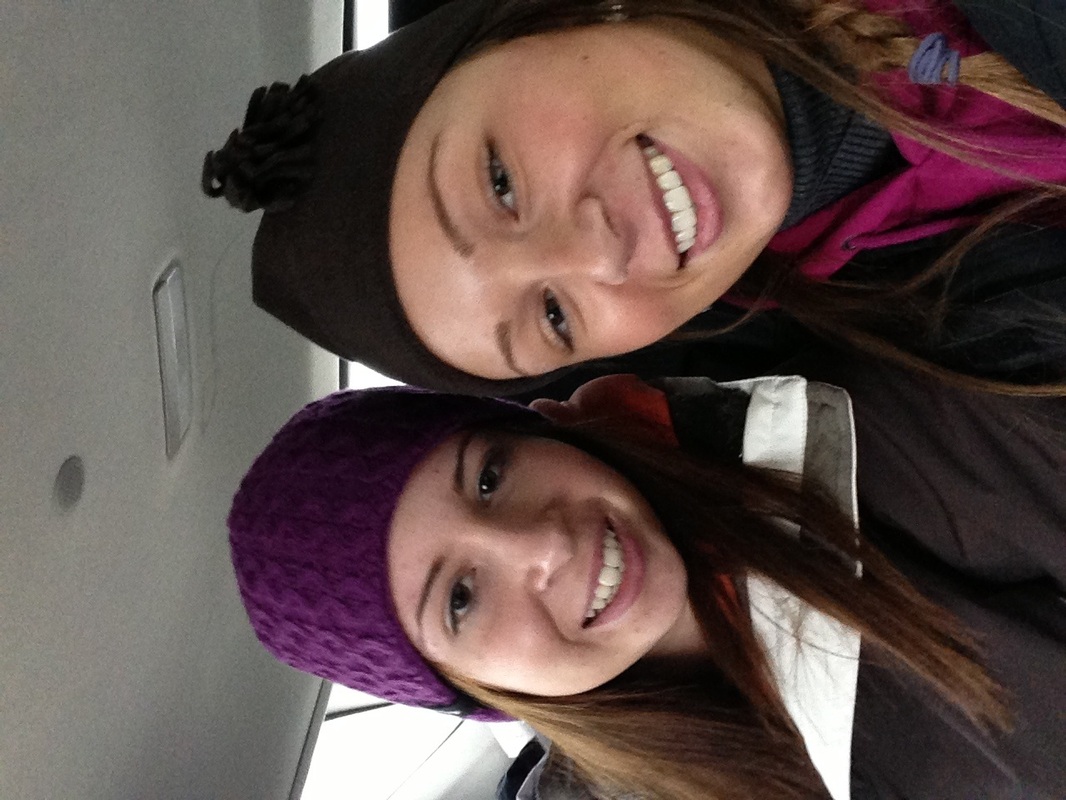
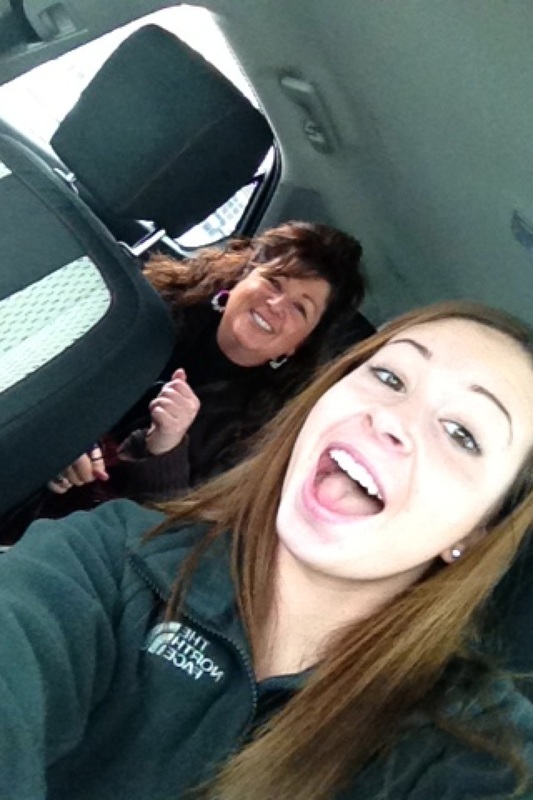
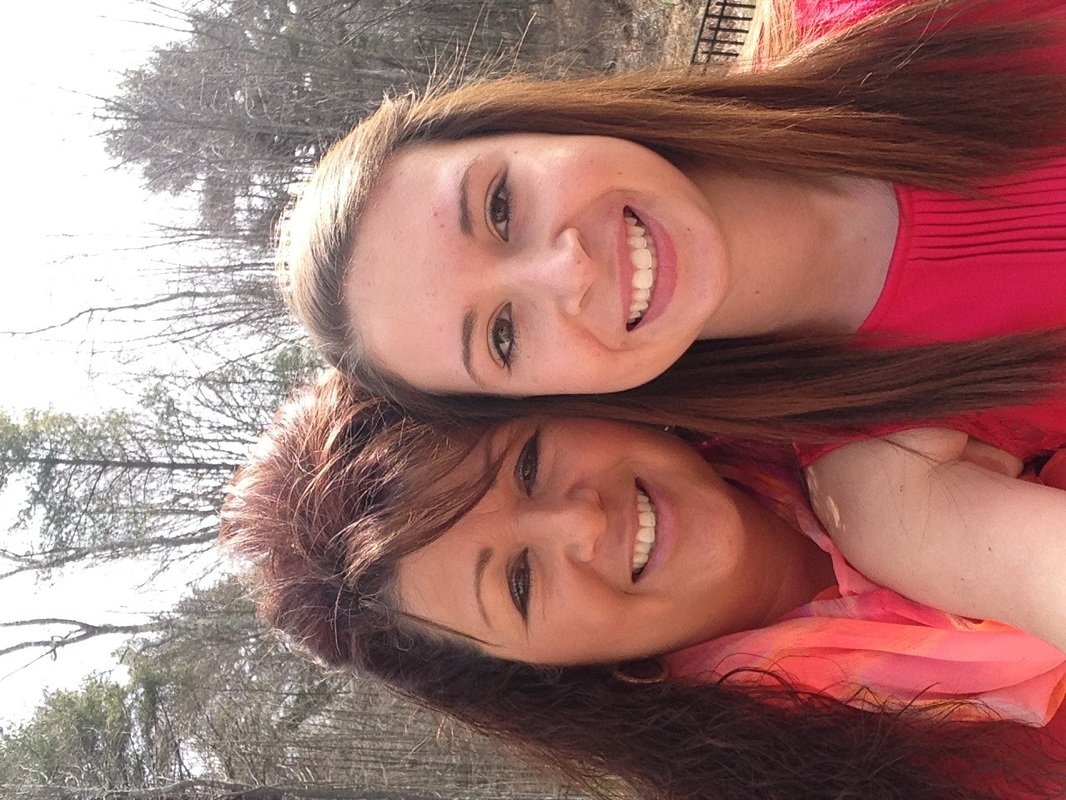
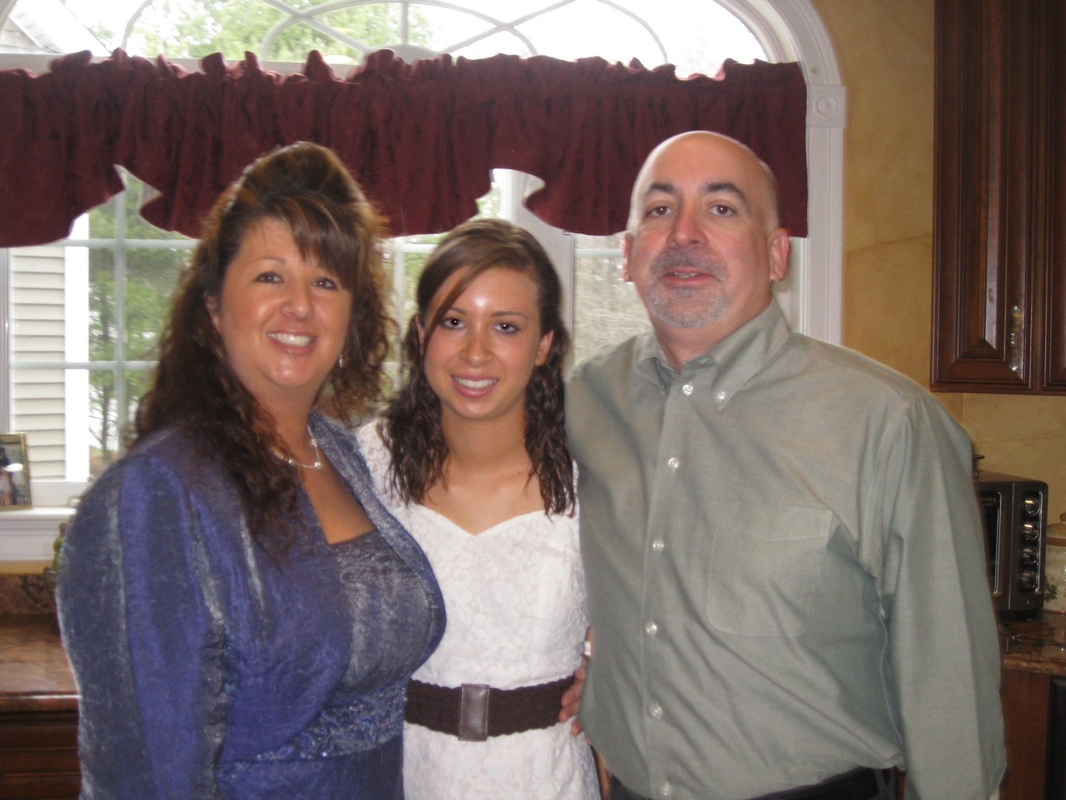
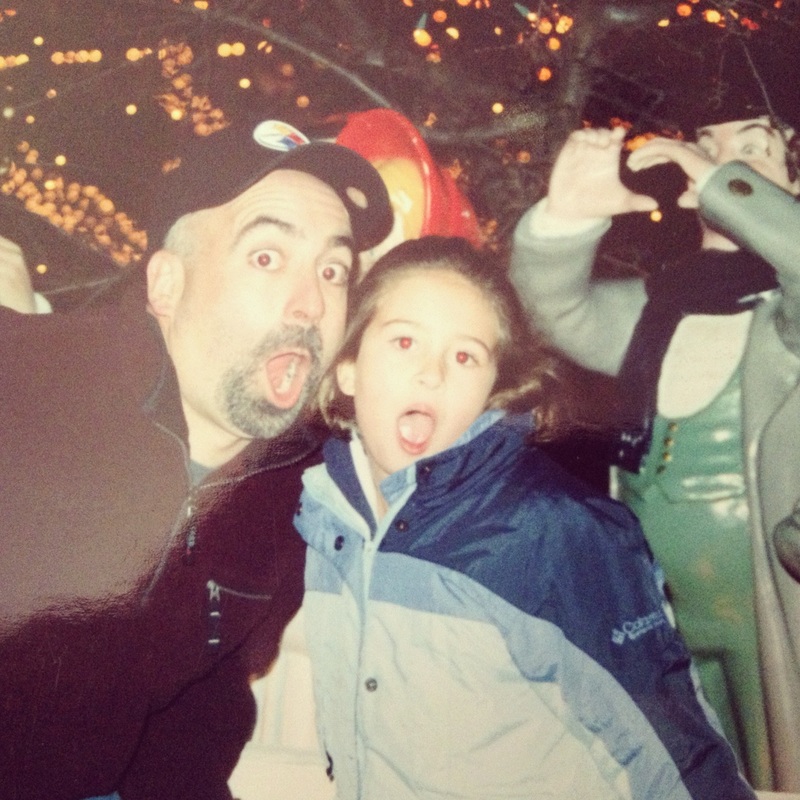
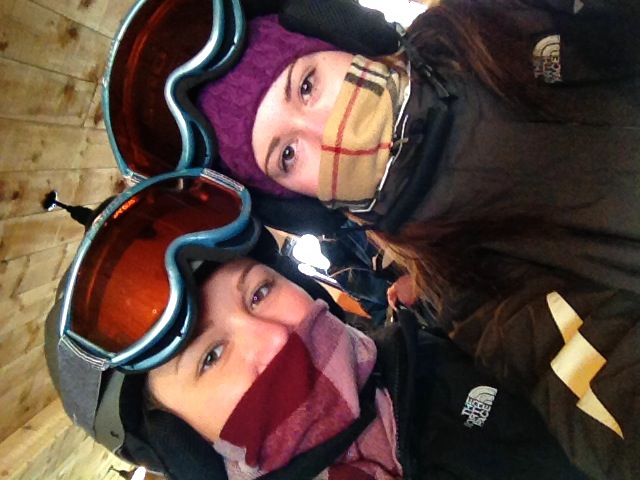
In this assignment I had to create a calendar with any theme. This calendar is based on friends and family. The first step was to set up the actual calendar using Microsoft Publisher. A template was used and included the days for every month. The first month to create was July. I opened another blank document in Microsoft Publisher and split the page in half. The bottom half of the calendar were the days and the top half were pictures of who the month is for. Using the other document in Publisher, I saved one of the months and inserted the image into the other new document. On the top half of the calendar, I inserted an image I saved from Google, and set the image as the background. Then inserted two pictures of my friend and I and moved them on top of the blue background. I also added a shape to fill some space. There is a textbox in the left side of the calendar describing who and why this month is for this person. I researched some information about the month of July, like the moon cycle. Using paint, I created an image that looked like the moon phases. When I was done, I inserted them into the calendar and moved them to the day where the moon phases are. For the bottom half of the calendar, I inserted another picture of my friend and I. Using the formatting tab, I set the picture as the background so it was behind the calendar days. During this assignment, I learned how to make the calendar days have no fill and how to make a calendar in general. If I could do this differently I would filter some of the pictures differently and set a different color for the border around the pictures.
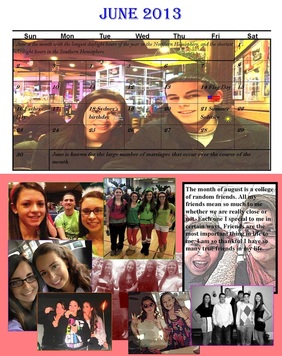
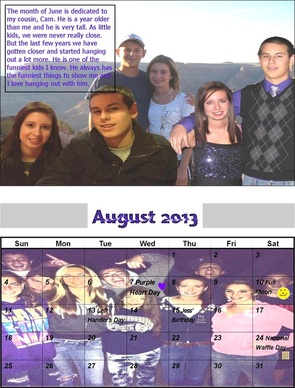
Months of June and August

|
|
|
|
|
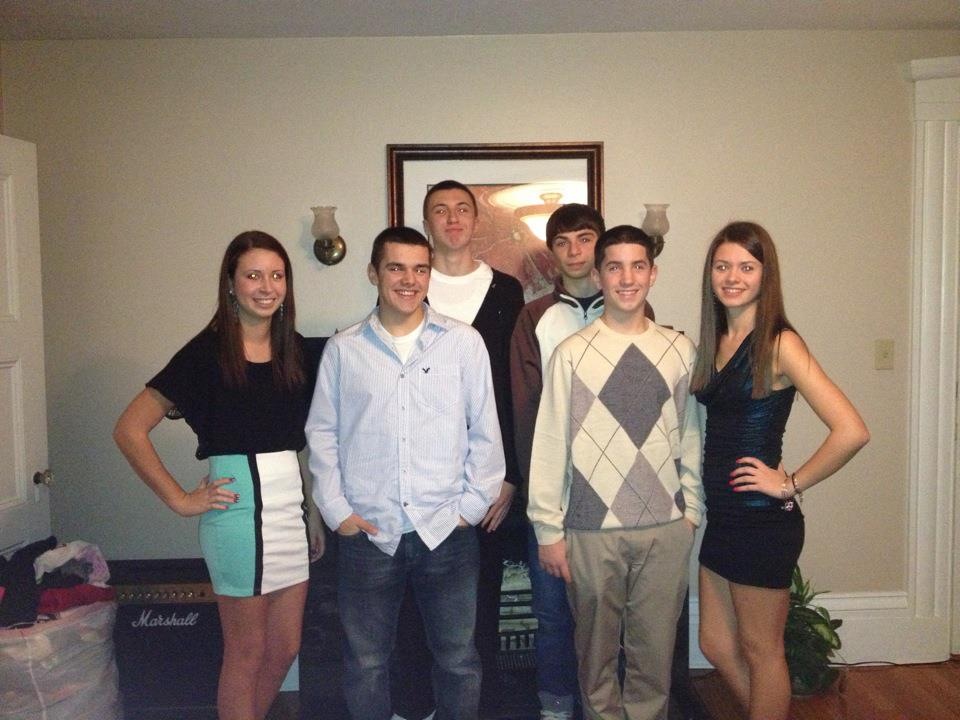
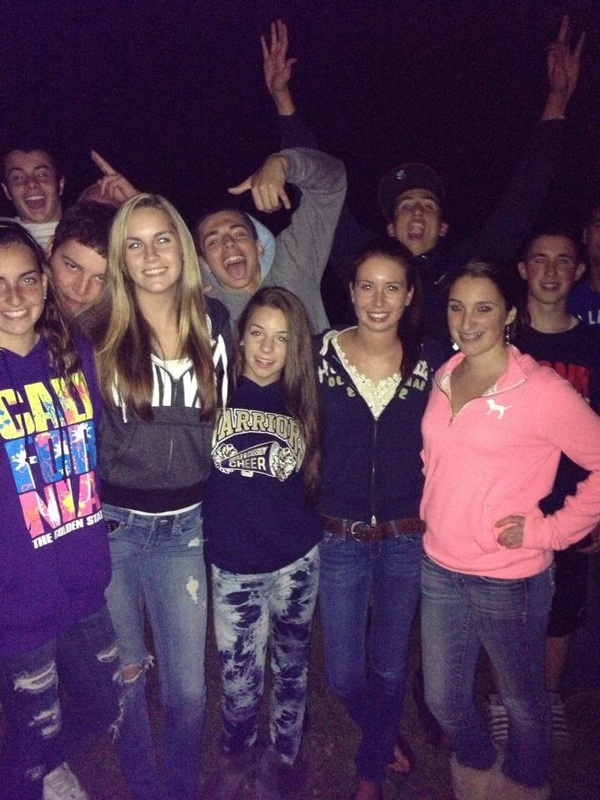
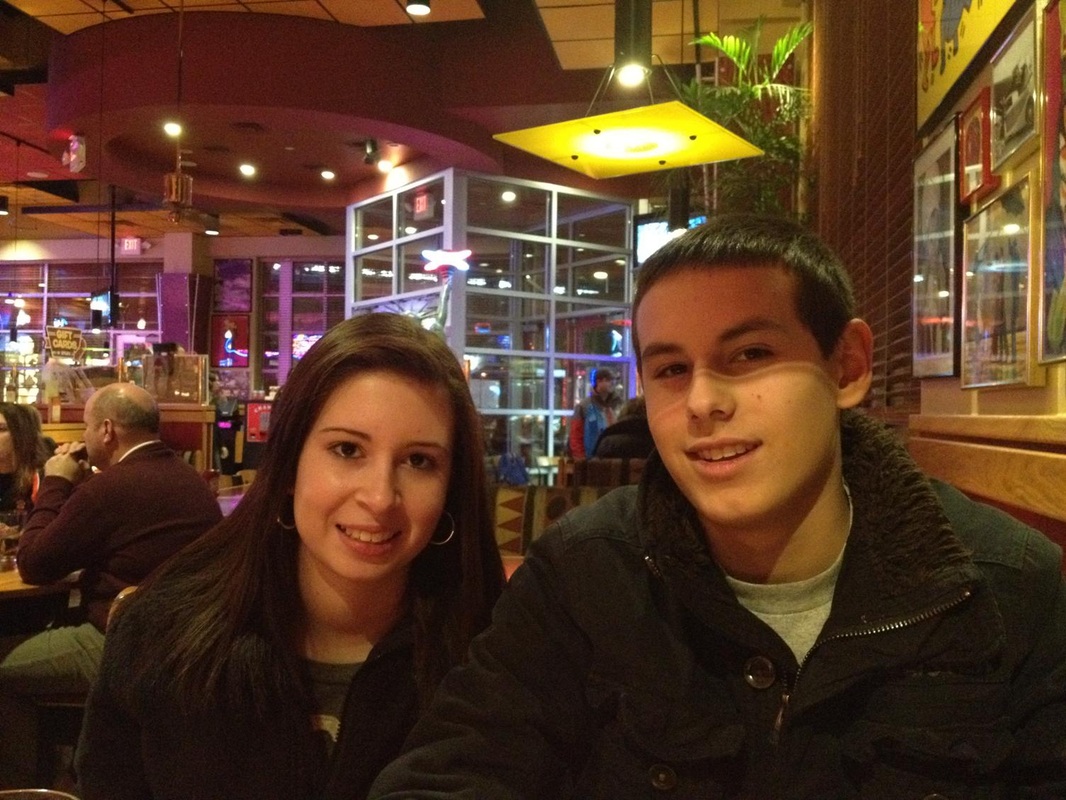
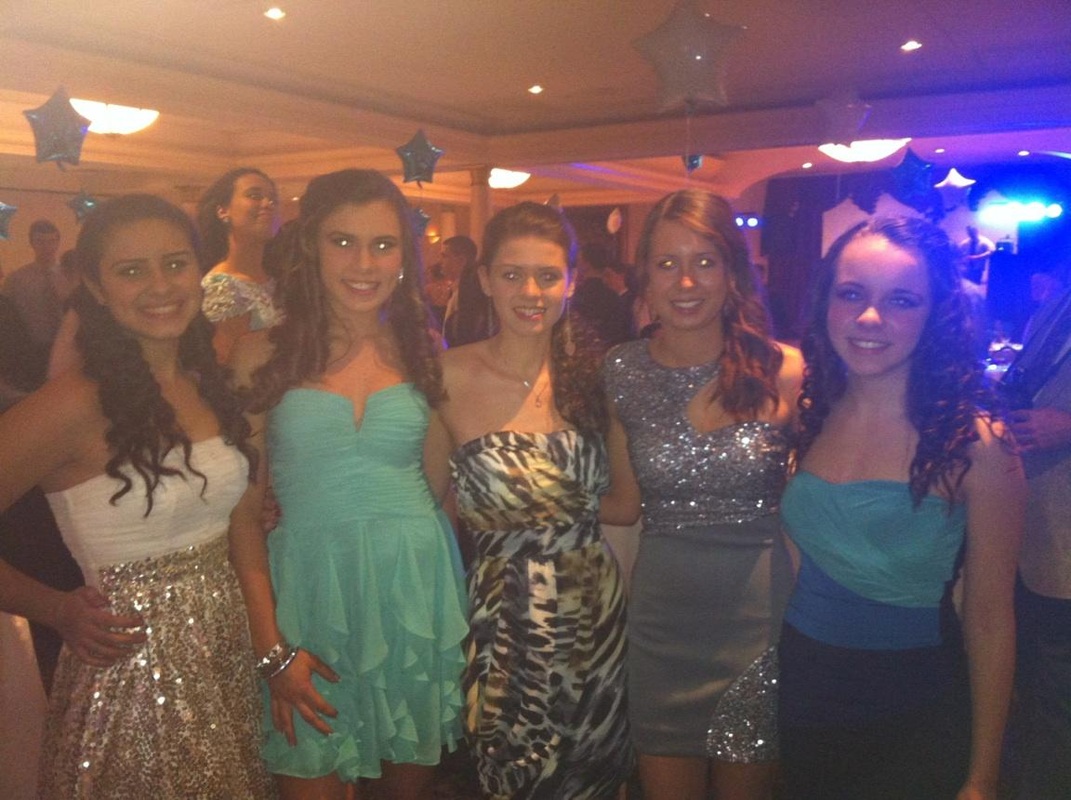
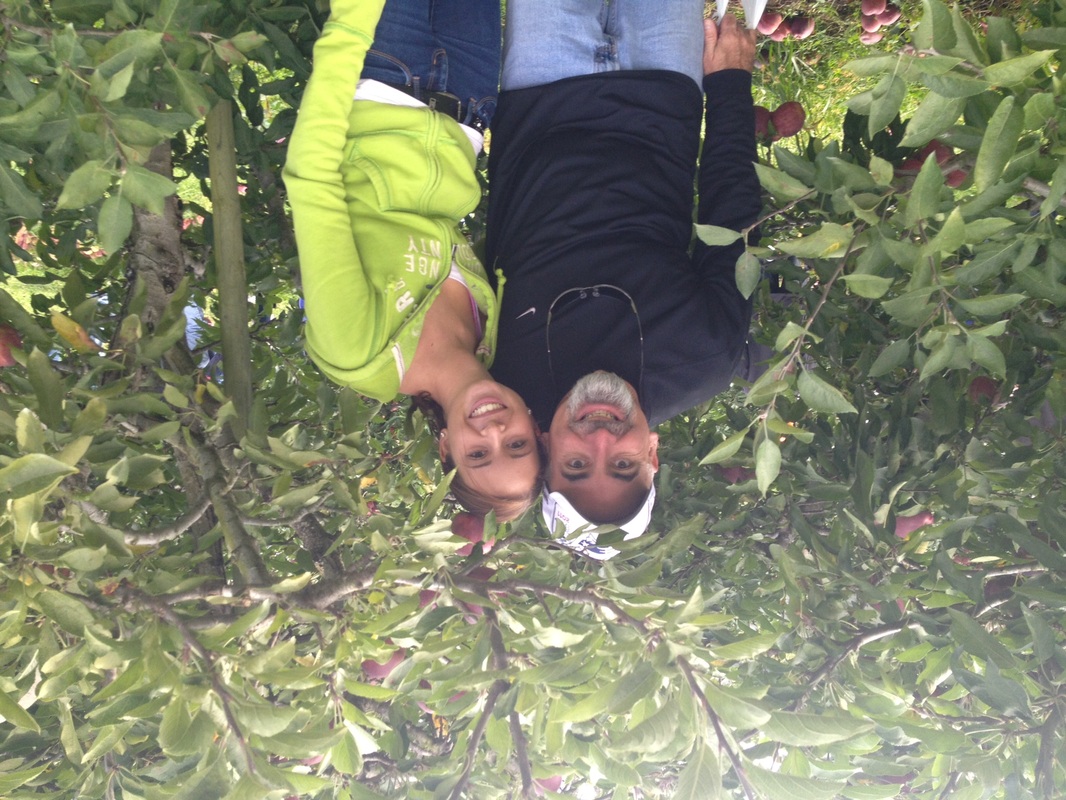
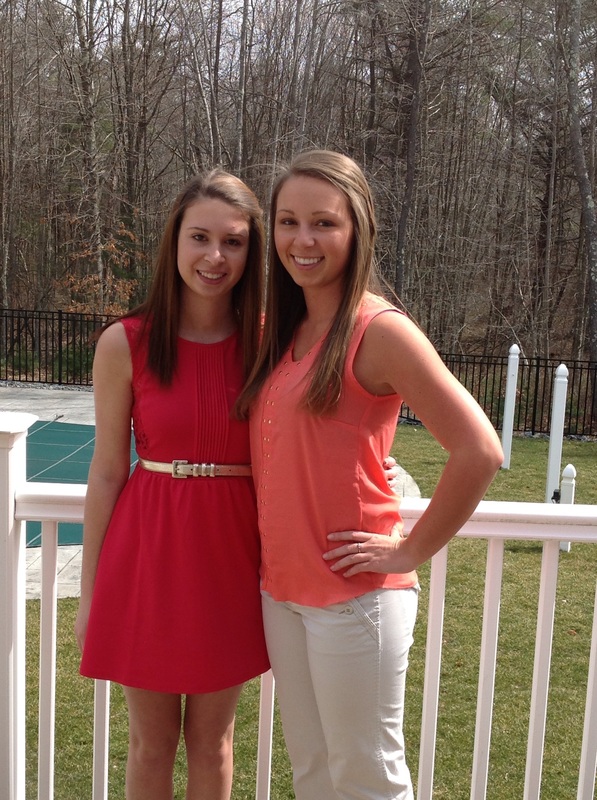
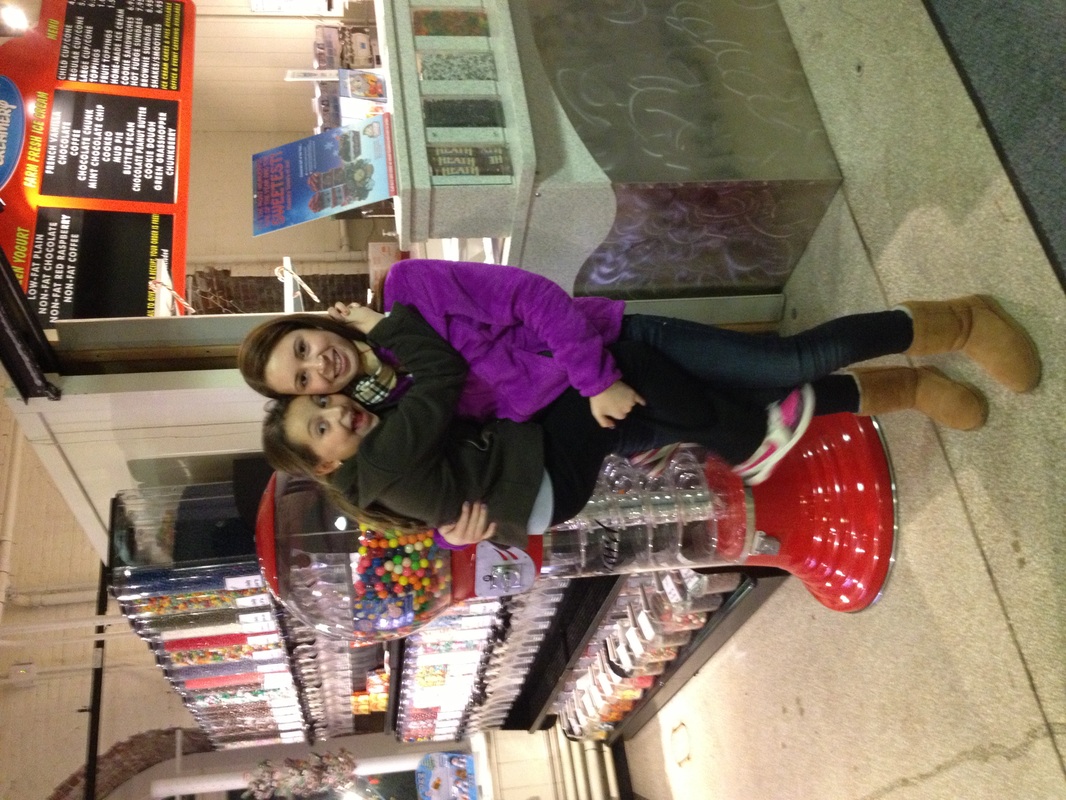
For this assignment I had to create the back side of July, which were months June and August. I used the same Publication just a different page. It was called sheet number 7. The top of the page was June, with the month grid and the bottom was the month of August. In June I inserted a picture of my cousin and I and set the order to send the picture behind the calendar grid. I lightened the picture so the dates and information about the dates could be read easier. I researched information about the month of June, like Flag Day, Fathers Days and Summer Solstice. Using paint, I drew pictures that related to those events and inserted them to that date. For August, using Photoshop I filtered and edited pictures different ways. I made a college of my friends and I on the Publication document. I inserted a textbox and wrote information about why August is dedicated to my friends and set a picture to be behind the textbox. I filled the background of the month to be pink to add color by inserting another textbox and filling in with color. During this assignment I learned how to brighten the images on Publisher and merge the cells on the grid. If I could do this differently I would filter the picture behind the month of June so it would not look so yellow.
Picture Edit

|
|
This is a picture that I edited on Photoshop. Using the crop tool the first thing I did was crop the picture and made it smaller. The original picture had different shadings of light in it. Using the dodge and burn tool on Photoshop I made the lighter parts darker and the darker parts of the picture brighter. I had different colors into both of our hairs also using the draw tool. After I edited the original picture I filtered the image with the modifications I had made. The filter I used for this image was Poster Edge. During this assignment I learned what the dodge and burn tool was and how to use it.
Sheet Number 6 Front
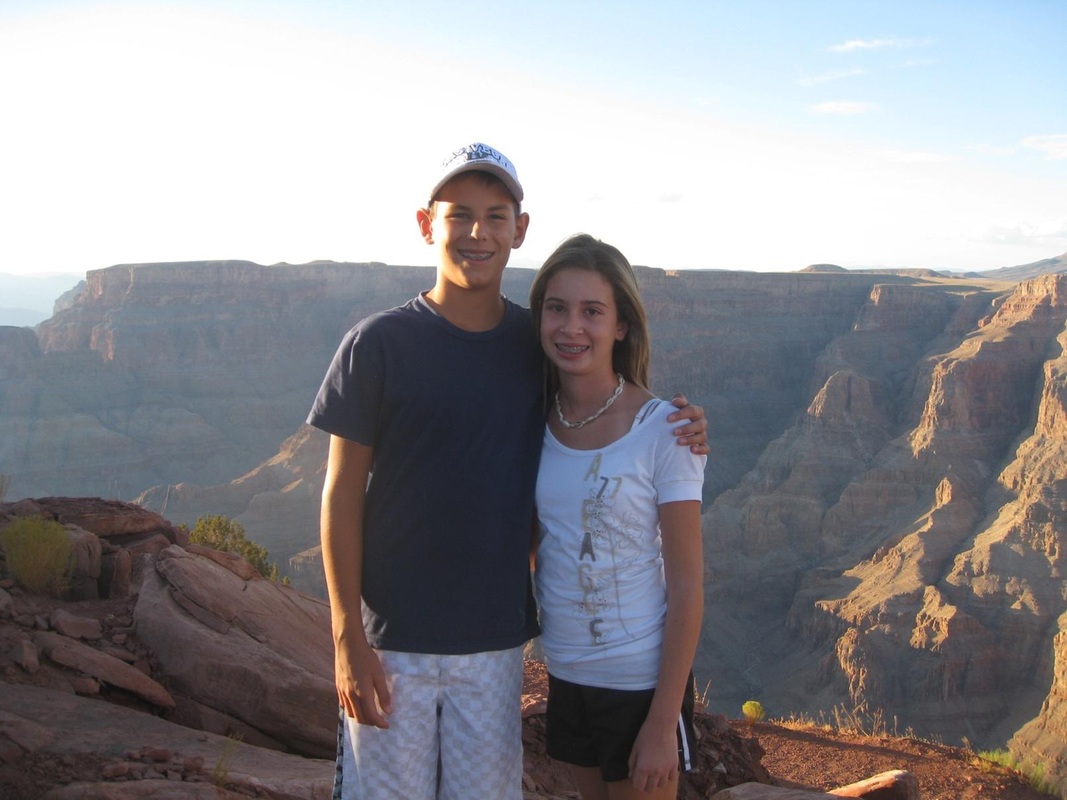
In this assignment I had to create the front side of sheet number 6, which are the months of June and August. For this side of sheet number six I made a college of my cousin and I. To begin this though I had to insert the calendar grid of August into a Microsoft Office Publisher Document. The top of the page is June and the bottom of the page is August, with the calendar grid. For June I opened a few different images of my cousin and I in Photoshop. Using the Quick Selection and the Move tool I created a college of us. When I was finished with it I saved it as a jpg and inserted it into the Publisher Document. I made a textbox and set it to be before the picture and then wrote why June is dedicated to my cousin. I also added a boarder the color of purple around the textbox. For August I inserted a picture of my friends and I and set it to be behind the calendar grid. I lightened the picture so the dates and information about the dates could be read easier. I researched information about the month of August and holidays and birthdays that are in August. During this assignment I learned how to create an actual collage in Photoshop. If I could do this differently I would choose a different picture for the bottom because some of the faces are washed out.
Sheet Number 6 Back
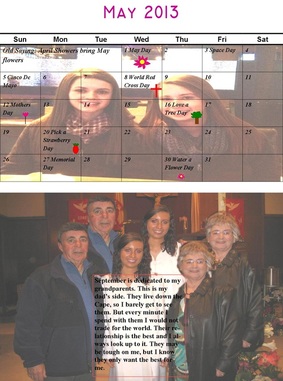
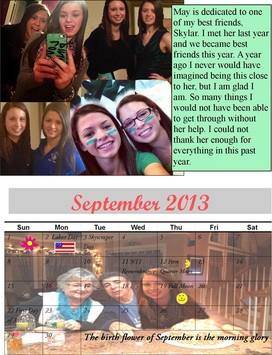
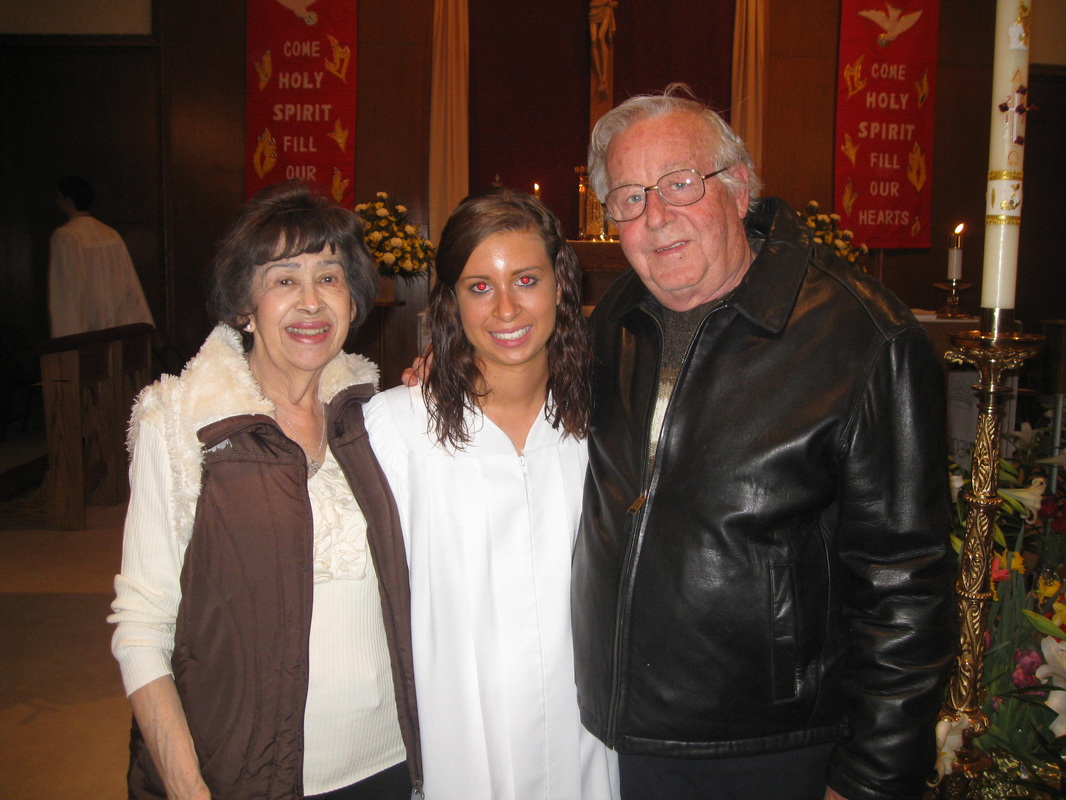
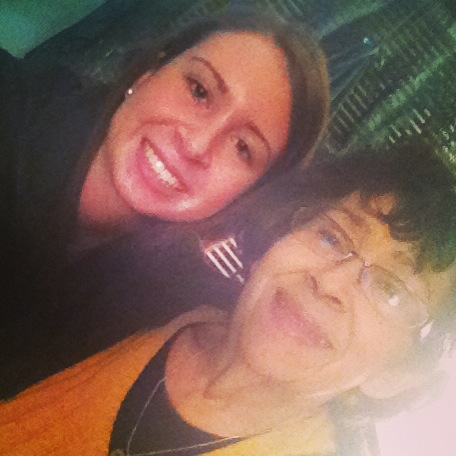
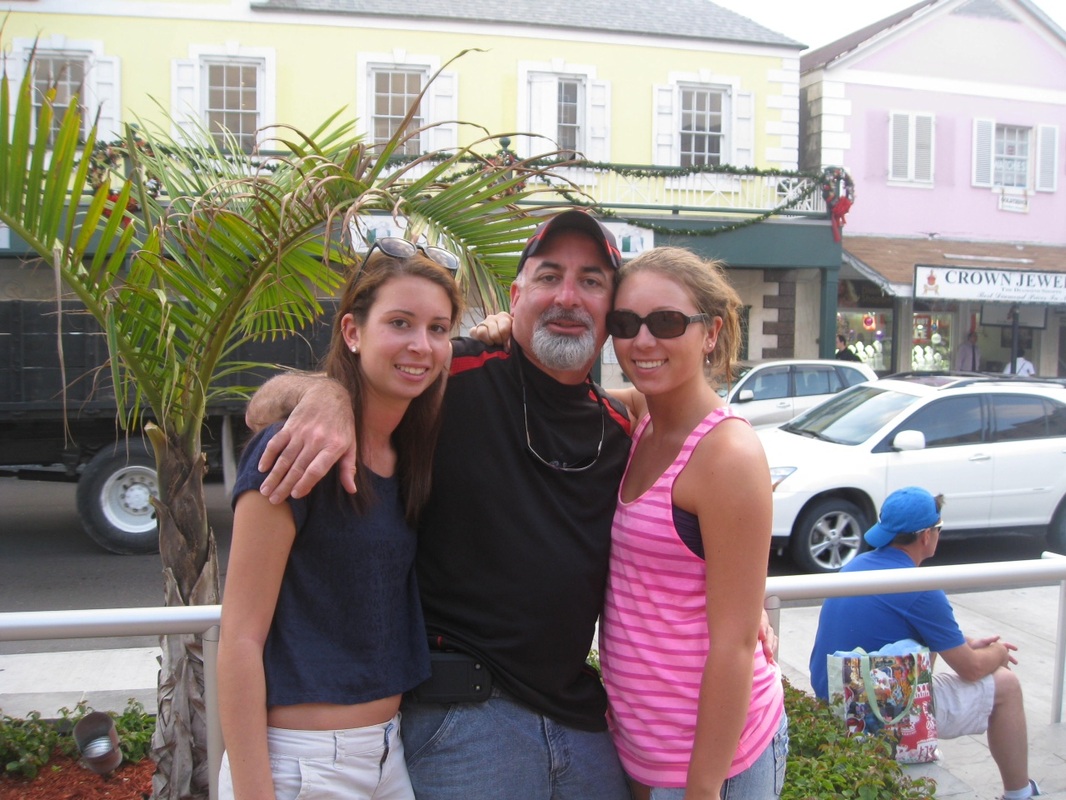
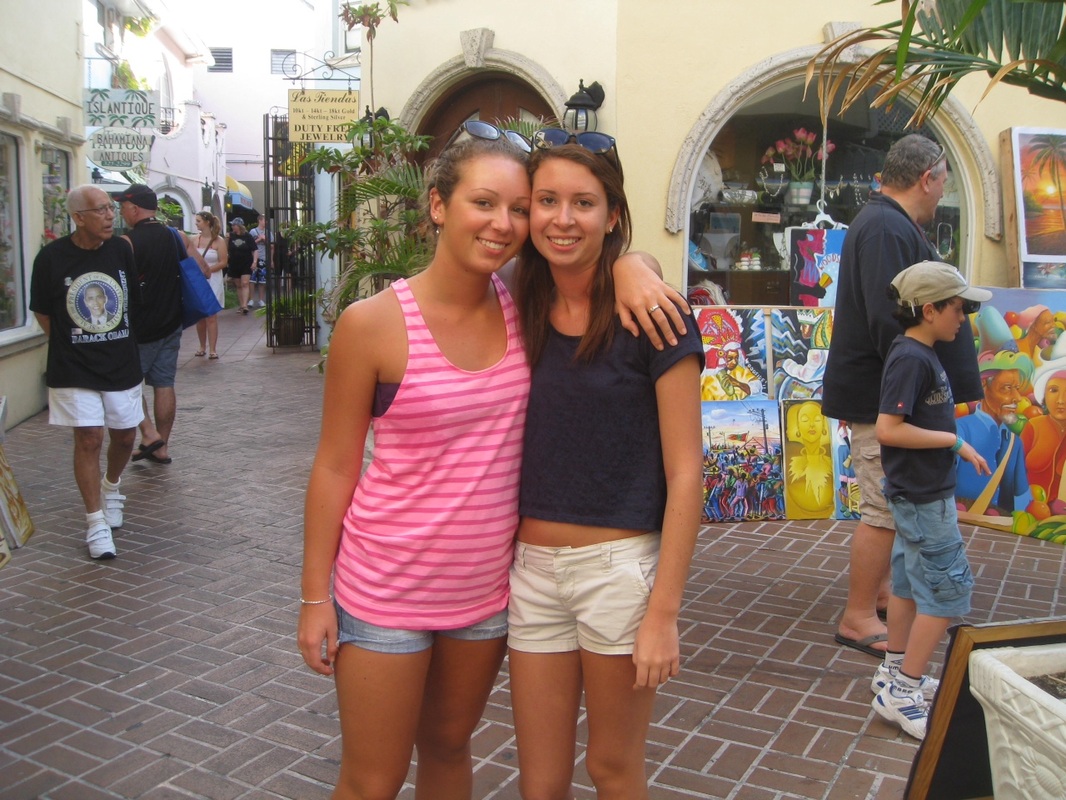
In this assignment I had to create the back side of sheet number 6, which are the months of May and September. For sheet number 6 I had to use the clone tool in Photoshop. I used the same Publication as the front side of sheet number 6 just a different page. The top of the page is May, with the month grid and the bottom is the month of September. For May I inserted a picture of one of my best friends and I and set the order to send the picture behind the calendar grid. I lightened the picture so the dates and information about the dates could be read easier. I researched information about the month of May and holidays that are in May. Using paint, I drew pictures that related to those holidays and inserted them to that date. For September, using Photoshop and the clone tool i duplicated the picture of my grandparents and I. What I did was open the original picture in Photoshop and then Held the alt key down while in the clone tool. Behind the picture of us i ran my mouse in the background, creating 2 rows of us. This made the picture look like it was a chorus concert. I inserted a textbox and wrote information about why September is dedicated to my grandparents and set the picture to be behind the textbox. I made the boarder of the textbox to be the color of pink. During this assignment I learned how to use the clone tool. If I could do this differently I would clone our faces to be eachothers.
Sheet Number 5 Front

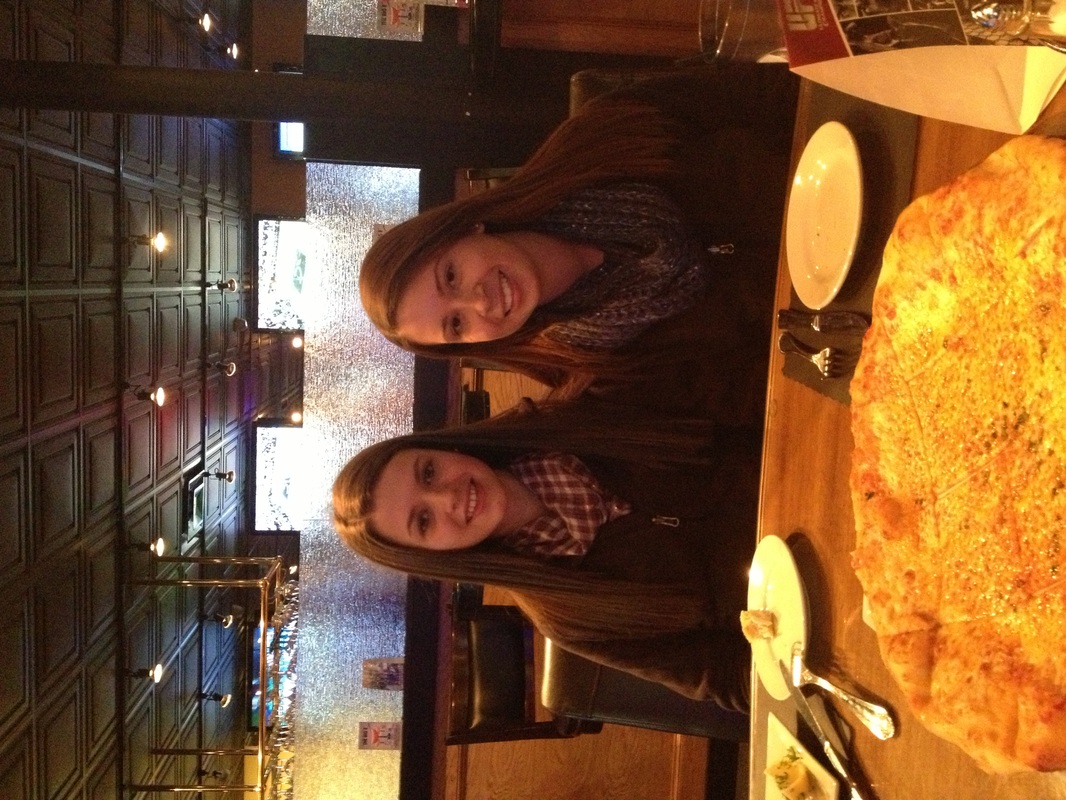
In this assignment I had to create the front side of sheet number 4, which are the months of May and September. For this side of sheet number four I made a college of my frend Skylar and I. To begin this though I had to insert the calendar grid of Setember into a Microsoft Office Publisher Document. The top of the page is May and the bottom of the page is September, with the calendar grid. For May I opened a few different images of Skylar and I in Photoshop. Using the Move tool I created a college of us. When I was finished with it I saved it as a jpg and inserted it into the Publisher Document. I made a textbox and set it to be before the picture and then wrote why May is dedicated to Skylar. I also added a boarder around the textbox so i would tand out more. For September, using Photoshop I cloned myself into a picture with my grandparents. I then inserted the picture into the Pubisher document and set it to be behind the calendar grid. I lightened the picture so the dates and information about the dates could be read easier. I researched information about the month of September and holidays and birthdays that are in September. If I could do this differently I would choose a different picture for the bottom.
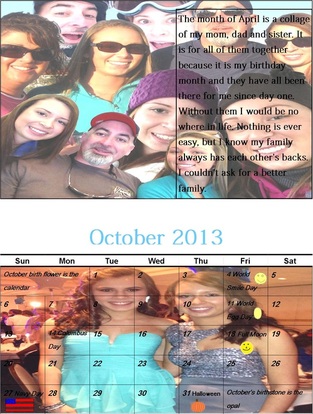
Sheet 5 back

In this assignment I had to create the back side of sheet number 5, which are the months of April and October. For sheet number 5 I had to use the color replacement tool in Photoshop. I used the same Publication as the front side of sheet number 5 just a different page. The top of the page is April, with the month grid and the bottom is the month of October. For April I inserted a picture of my family and I and set the order to send the picture behind the calendar grid. I lightened the picture so the dates and information about the dates could be read easier. I researched information about the month of April and holidays that are in April. Using paint, I drew pictures that related to those holidays and inserted them to that date. For October, using Photoshop and the color replacement tool I made the tips of my friend an I's hair pink an blue. I ten inserted the piture into the Publisher document. I inserted a textbox and wrote information about why October is dedicated to Sydney and set the picture to be behind the textbox. I made the boarder of the textbox to be the color of black and field the box with dark blue. During this assignment I learned how to use the color replacement tool. If I could do this differently I would choose different pictures for the bottom because they show pixels.
Sheet 4 front

In this assignment I had to create the front side of sheet number 4, which are the months of May and September. For this side of sheet number four I made a college of my frend Skylar and I. To begin this though I had to insert the calendar grid of Setember into a Microsoft Office Publisher Document. The top of the page is May and the bottom of the page is September, with the calendar grid. For May I opened a few different images of Skylar and I in Photoshop. Using the Move tool I created a college of us. When I was finished with it I saved it as a jpg and inserted it into the Publisher Document. I made a textbox and set it to be before the picture and then wrote why May is dedicated to Skylar. I also added a boarder around the textbox so i would tand out more. For September, using Photoshop I cloned myself into a picture with my grandparents. I then inserted the picture into the Pubisher document and set it to be behind the calendar grid. I lightened the picture so the dates and information about the dates could be read easier. I researched information about the month of September and holidays and birthdays that are in September. If I could do this differently I would choose a different picture for the bottom.
Back of Sheet 4

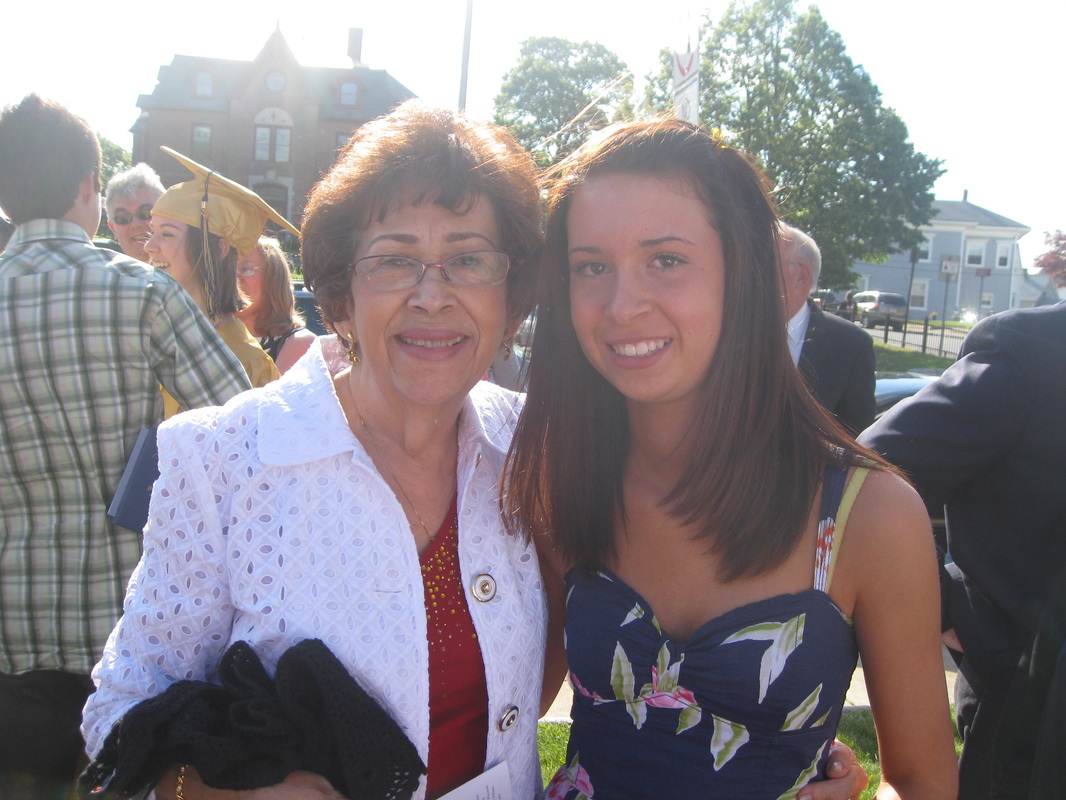
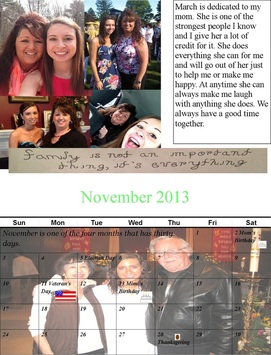
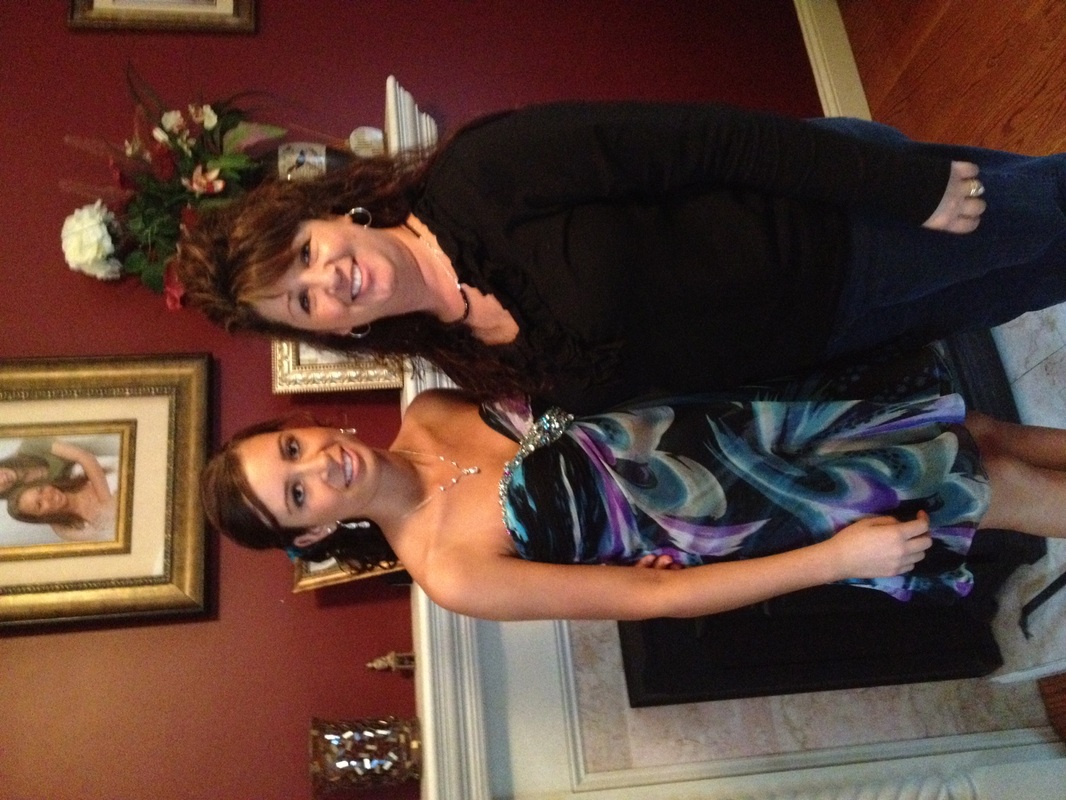
In this assignment I had to create the back side of sheet number 4, which are the months of March and November. For sheet number 4 I could do whatever I wanted. I used the same Publication as the front side of sheet number 4 just a different page. The top of the page is March, with the month grid and the bottom is the month of November. For March I inserted a picture of my mom and I and set the order to send the picture behind the calendar grid. I lightened the picture so the dates and information about the dates could be read easier. I researched information about the month of March and holidays that are in March. Using paint, I drew pictures that related to those holidays and inserted them to that date. For November, using Photoshop and the move and quick selection tool, a collage of my grandparents and I. I then inserted the piture into the Publisher document. I inserted a textbox and wrote information about why November is dedicated to my grandparents and set the picture to be behind the textbox. I made the boarder of the textbox to be the color of black. During this assignment I learned more about the quick selection tool and how to use it. If I could do this differently I would choose different picture for the top because the face is faded.
Sheet 3 Front


In this assignment I had to create the front side of sheet number 3, which are the months of March and November. For this side of sheet number 3 I made a collage of my mom and I. To begin this though I had to insert the calendar grid of November into a Microsoft Office Publisher Document. The top of the page is March and the bottom of the page is November, with the calendar grid. For March I opened a few different images of my mom and I in Photoshop. Using the Move tool I created a collage of us. When I was finished with it I saved it as a jpg and inserted it into the Publisher Document. I made a textbox and set it to be before the picture and then wrote why March is dedicated to my mom. I also added a boarder around the textbox so i would stand out more. For November, I inserted a picture of my grandparents and I into the Publisher document. I then set it to be behind the calendar grid. I lightened the picture so the dates and information about the dates could be read easier. I researched information about the month of November and holidays and birthdays that are in November. If I could do this differently I would choose a few different pictures that havent been used in the calander.
Sheet 3 Back
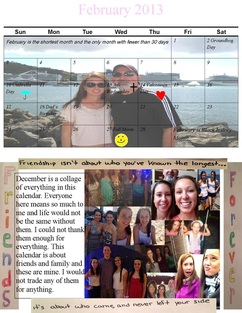


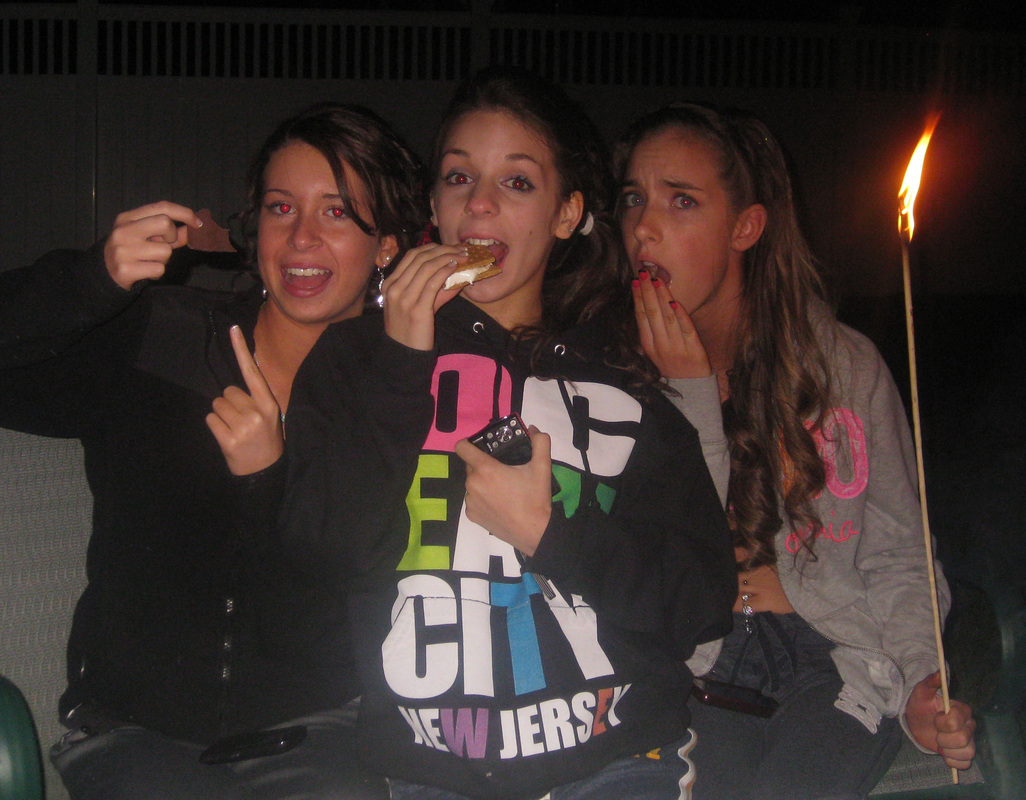
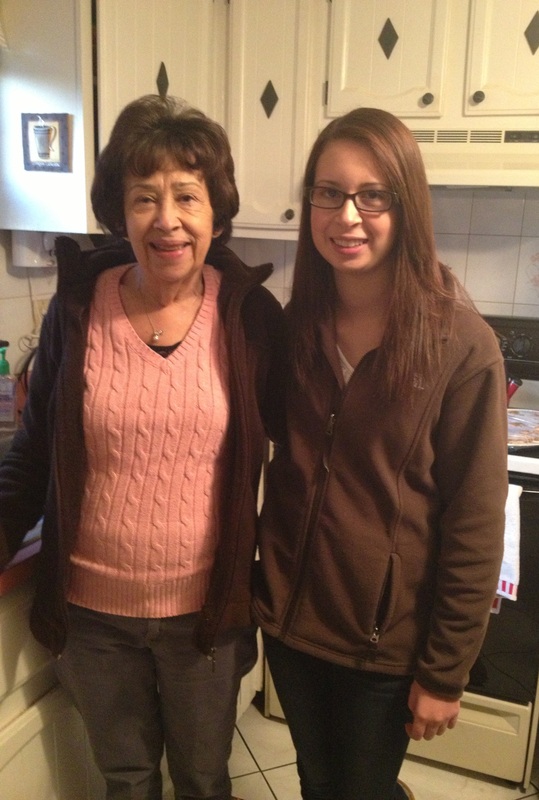
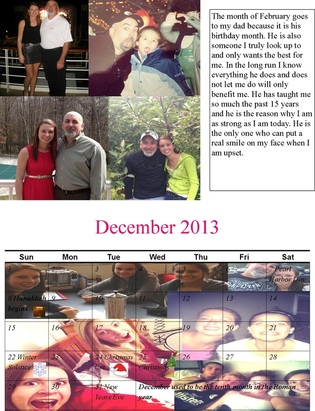
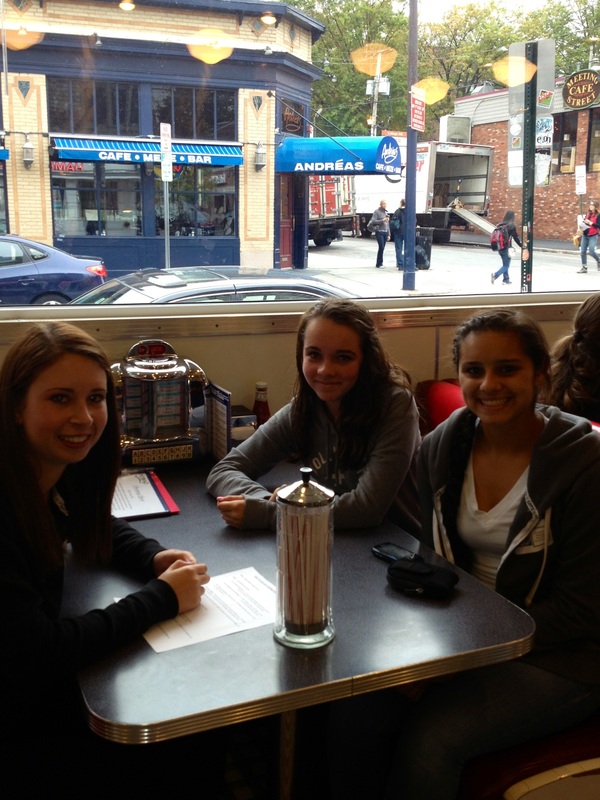
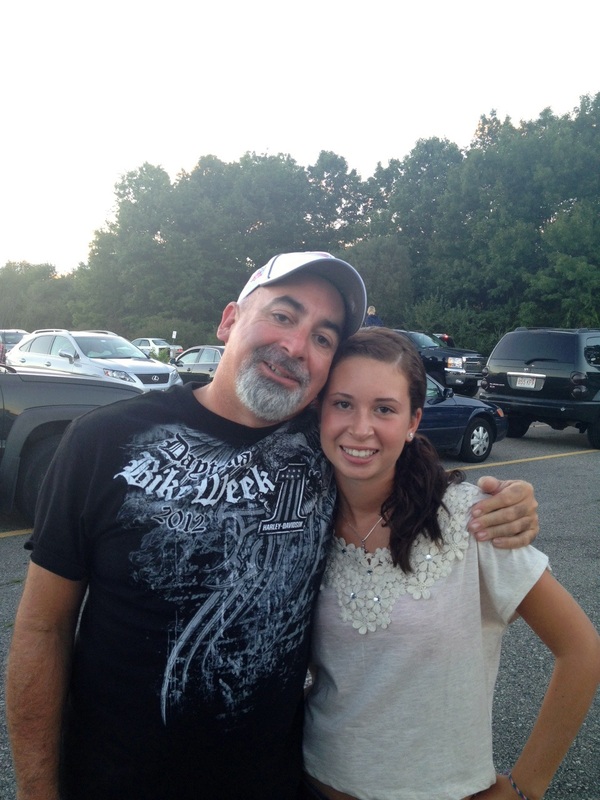
In this assignment I had to create the back side of sheet number 3, which are the months of February and December. For sheet number 3 had to draw 50% of one sheet. I used the same Publication as the front side of sheet number 3 just a different page. The top of the page is February, with the month grid and the bottom is the month of December. For February I inserted a picture of my dad and I and set the order to send the picture behind the calendar grid. I lightened the picture so the dates and information about the dates could be read easier. I researched information about the month of February and holidays that are in February. Using paint, I drew pictures that related to those holidays and inserted them to that date. For December, using Photoshop and the move and quick selection tool, a collage of my friends and family. I then inserted the picture into the Publisher document. I inserted a textbox and wrote information about why December is dedicated to everyone in my life and set the picture to be behind the textbox. I made the boarder of the textbox to be the color of black. Outside of class I researched qoutes and wrote them on a piece of paper and colored them. I then scanned them on the computer and they were saved as a jpg. I inserted them into the document and moved them around the page where I wanted them to be. During this assignment I learned how to scan things onto the computer. If I could do this differently I would choose different things to draw and scan onto the calander.
Sheet 2 Front


In this assignment I had to create the front side of sheet number 3, which are the months of December and February. For this side of sheet number 2 I made a collage of my dad and I. To begin this though I had to insert the calendar grid of December into a Microsoft Office Publisher Document. The top of the page is February and the bottom of the page is December, with the calendar grid. For February I opened a few different images of my dad and I in Photoshop. Using the Move, crop and quick selection tool I created a collage of us. When I was finished with it I saved it as a jpg and inserted it into the Publisher Document. I made a textbox and set it to be before the picture and then wrote why February is dedicated to my dad. I also added a boarder around the textbox so i would stand out more. For December, I also created a collage but this was of my friends and family. When I was finished I inserted it into the Publisher document. I then set it to be behind the calendar grid. I lightened the picture so the dates and information about the dates could be read easier. I researched information about the month of December and holidays and birthdays that are in December. If I could do this differently I would change the font and color used on this page.
Sheet 2 Back
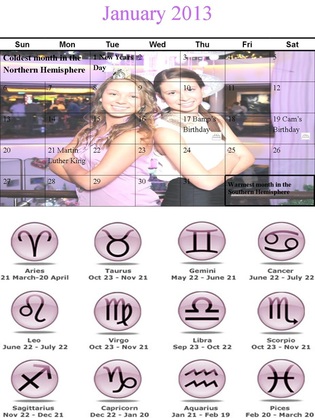

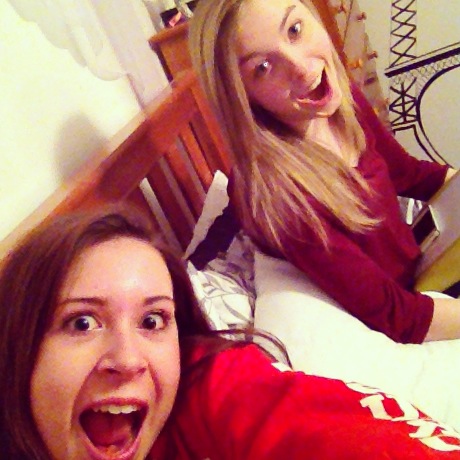
In this assignment I had to create the back side of sheet number 2, which is the month of January. I used the same Publication as the front side of sheet number 2 just a different page. The top of the page is January and the bottom could be anything, I choose to put zodiac signs. For January I inserted a picture of my sister and I and set the order to send the picture behind the calendar grid. I lightened the picture so the dates and information about the dates could be read easier. I researched information about the month of January and holidays that are in January. During this assignment I learned how to create a calendar. If I could do this differently I would make it so the days in the calendar grid are easier to read.
Sheet 1 Front
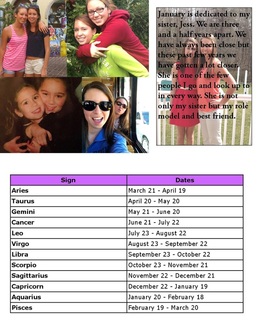


In this assignment I had to create the front side of sheet number 1, which is the month of January. For this side of sheet number 1 I made a collage of my sister and I. The top of the page is January and the bottom is zadiac signs telling which months are what. For January I opened a few different images of my sister and I in Photoshop. Using the Move, crop and quick selection tool I created a collage of us. When I was finished with it I saved it as a jpg and inserted it into the Publisher Document. I made a textbox and set it to be before the picture and then wrote why January is dedicated to my sister. I also added a boarder around the textbox so i would stand out more. I inserted a picture behind the textbox so there was more color to the page. If I could do this differently I would change the chart about the zodiac signs so it was not so plain.
Sheet 1 Back
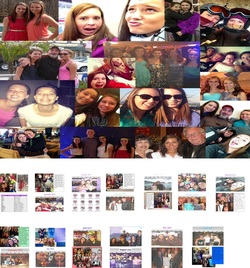


In this assignment I had to create the back side of sheet number 1, which is the cover and the thumbnails. I used the same Publication as the front side of sheet number 1 just a different page. The top of is a collage of everything in this collage which is my friends and family. The bottom of the page was thumbnails. For the cover I opened PhotoShop and made a collage of pictures. When I was finished I inserted the picture into the Publisher document. During this assignment I learned how to make a blank page in PhotoShop. If I could do this differently I would spread the thumbnails on the bottom out more.
